Choose one visual moment
Write a single sentence describing the subject, setting, mood, and action. Keep the first attempt narrow: one subject, one location, and one clear movement are easier to judge than a crowded scene.
Practical walkthrough
This everygenai tutorial takes you from a simple idea to a reviewable video draft. Use the sequence to make clearer decisions before you spend time refining the result.
Before you begin, decide what the viewer should see, how the camera should move, and what the finished clip needs to accomplish. A small amount of planning prevents vague prompts and difficult revisions.
Write a single sentence describing the subject, setting, mood, and action. Keep the first attempt narrow: one subject, one location, and one clear movement are easier to judge than a crowded scene.
Add useful production language such as shot type, camera movement, lighting, pace, and visual style. Describe what should happen rather than stacking unrelated adjectives.
Watch the result for subject consistency, motion, framing, and unwanted details. Change one major variable at a time so you can tell which edit improved the next version.
When a result is close, record the prompt and the specific change that helped. This gives you a reusable starting point for related scenes instead of beginning from memory.
Use this side-by-side checklist while working. The left column describes a deliberate pass; the right shows the shortcut that often creates an unclear or inconsistent result.
Deliberate workflow
Define one subject, one action, and one audience-facing purpose.
Rushed workflow
Start with a broad idea containing several scenes and competing actions.
Deliberate workflow
Lead with the subject and action, then add setting, camera, light, and style.
Rushed workflow
List disconnected adjectives without saying what should happen first.
Deliberate workflow
Request one readable movement, such as a slow push-in or a gentle pan.
Rushed workflow
Ask for multiple camera moves and fast subject changes in one clip.
Deliberate workflow
Check framing, movement, continuity, and distractions in that order.
Rushed workflow
Judge the result only by whether the image looks attractive at first glance.
Deliberate workflow
Change one important instruction, then compare the new result with the prior version.
Rushed workflow
Rewrite the whole prompt after every attempt, making the cause of improvement unclear.
Deliberate workflow
Keep the strongest wording as a template for the next related shot.
Rushed workflow
Rely on memory and recreate the prompt from scratch each time.
A first draft is useful even when it is not final. Compare what the prompt asked for with what the viewer actually sees, then make the smallest correction that addresses the problem.
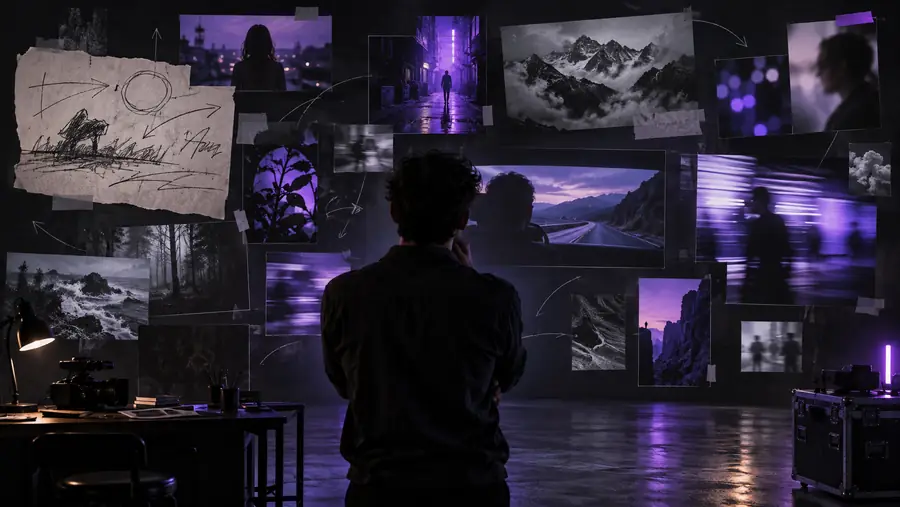
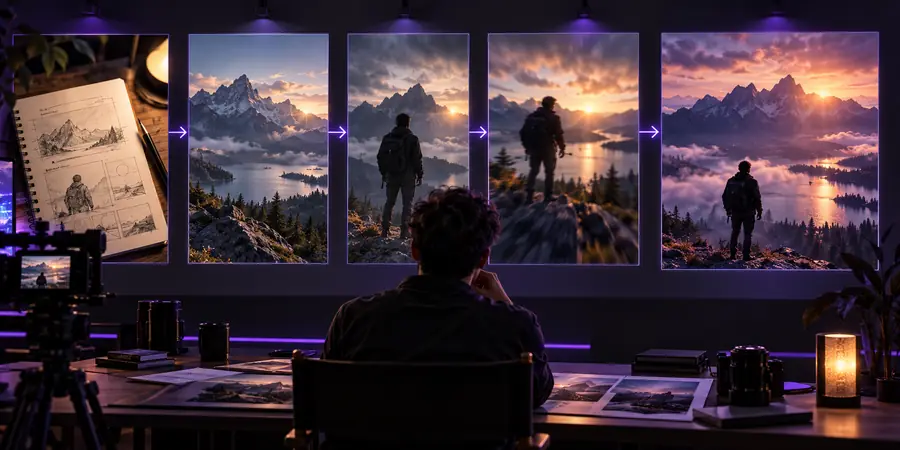
Treat the pair as a review exercise: identify the single change that makes the second direction easier to understand.
Once the basic workflow feels comfortable, improve consistency by treating prompts as production notes rather than magic words. The goal is not to make every request longer; it is to make each instruction earn its place.
Start with the most important information. If the subject is a cyclist crossing a wet bridge, say that before describing the color grade or atmosphere. A tool can only prioritize the scene when the scene has a clear center. Next, specify the relationship between subject and camera: a locked-off view, a slow tracking move, or a gradual push-in creates a more useful direction than simply asking for cinematic motion. Keep the requested action physically understandable and avoid combining several dramatic events into one short clip. For visual continuity, reuse the same subject description, location, lighting, and wardrobe language across related prompts. Small wording changes can alter identity, scale, or mood, so preserve the parts that already work. When a result is nearly right, revise the weakest element first instead of adding a long list of new instructions. Review at full attention, note the exact failure, and make one targeted adjustment. This turns a tutorial exercise into a repeatable creative process rather than a sequence of guesses.
Begin with a short scene that has one subject, one action, and one setting. A simple test makes it easier to evaluate framing, motion, and prompt clarity before you attempt a more complex sequence.
Include the details that affect the result most: subject, action, setting, camera movement, lighting, and tone. Avoid filling the prompt with decorative adjectives that do not clarify what the viewer should see.
Generated video is an interpretation, so broad or conflicting instructions can produce unexpected choices. Make the subject and action more specific, remove competing movements, and revise one major instruction at a time.
Keep the parts of the prompt that produced the right subject, setting, or mood, then change the weakest element only. Comparing successive drafts helps you identify which wording improves the outcome and which wording adds noise.
Treat each attempt as a small experiment. Save the prompt, describe what worked or failed, and use that observation to guide the next version rather than changing several unrelated details at once.